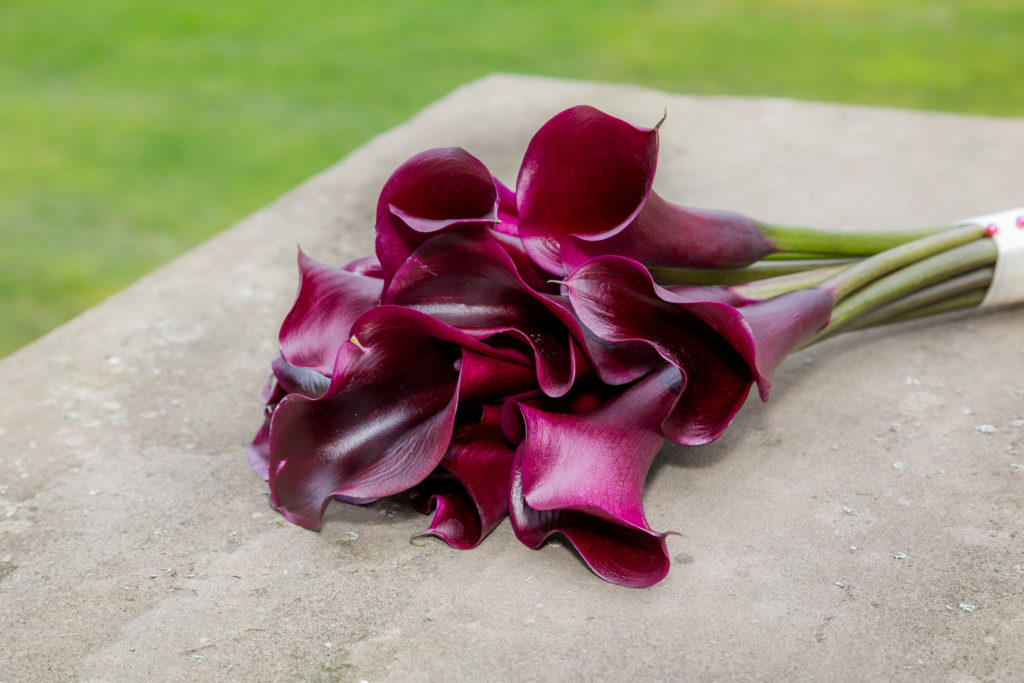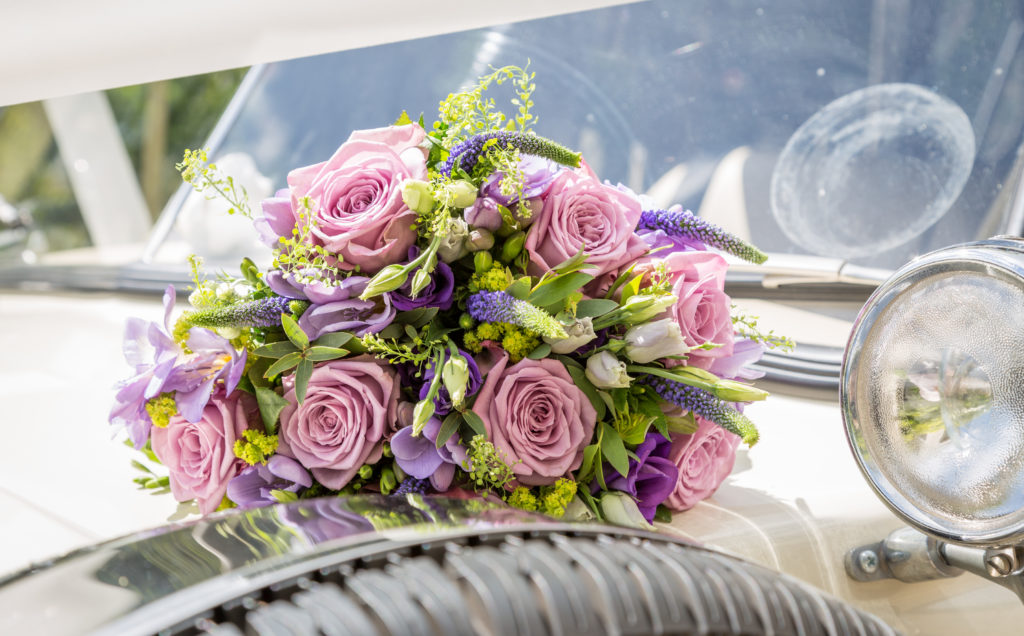
Spring is underway and blossoms are starting to pop out, which presents a delicious opportunity to get creative with your camera. So, for all of the budding photographers out there (see what I did there?) Here are my top tips for capturing spring in all of it’s bloomin’ glory.
Weather watch

If you’re heading outside then this is step number one – it might seem obvious, but don’t venture out in high winds or pouring rain and expect to get amazing shots! Ideally, you want a still, bright but overcast day – soft light and minimal sunshine. A reflector is a very handy and low cost resource for deflecting strong sunlight and introducing contrast into your photos.
Minimise wobbles

A sturdy tripod is the aim of the game, ideally a heavy one with legs that spread nice and wide and adjust to get you close to your subject. A tripod gives you the gift of time; you can work slowly to perfect your composition and focus whilst being assured that your camera isn’t going to move. (Grab a remote control for ultimate stillness).
Really LOOK at what you’re photographing

Consider the rule of thirds – rarely does a subject look good when placed centrally in the frame. Experiment with the format (portrait or landscape) and think ahead to how you might crop the image. Explore different angles and decide what the focal point of your photo is (an insect, the colour, texture or stem; a water droplet) then carefully position it within the frame.
Reduce the noise

Bokeh is the term for a blurry background behind a beautifully crisp, clear subject. Achieve it with a telephoto lens, setting your camera to a wide aperture in order to focus precisely on one element within the frame.
If this isn’t the style you’re after, then definitely make efforts to soften and declutter your background to highlight all the detail, definition and colour in the flowers you’re photographing. Set your camera to its lowest ISO (usually 100 or 200); and try using some white or green card if your subject is within a particularly noisy setting.
Be gentle

You will not be popular for trampling flowers or damaging gardens, so take out some clips, bands, pegs, wire and/or pins to temporarily hold stems that you want to keep outside of your frame.
Ready for a close-up?

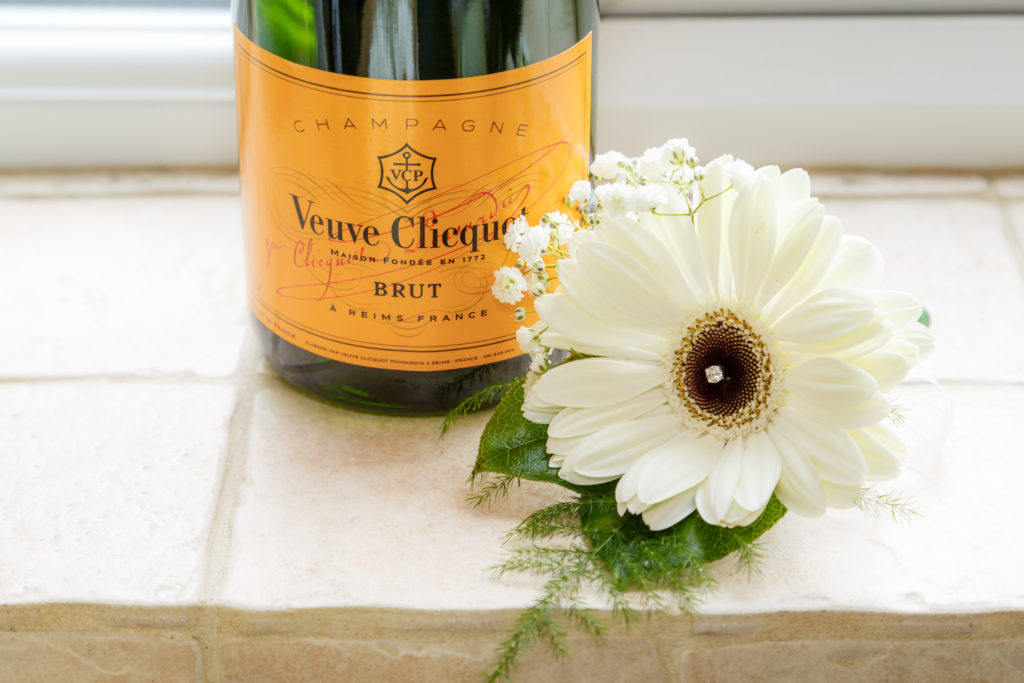
If you’re after a shot of a single stem or a small arrangement, like a button hole at a wedding; then break out that macro lens or some extension tubes (do a similar job, slightly more fiddly but good for lower budgets). These enable you to fill the frame with a life-size image (or larger). Take care with your focus as depth of field is limited when you’re so close to your subject. I recommend switching off auto-focus and manually setting the magnification – use the ‘live view’ or ‘spot focus’ setting, if your camera has them.
Get your lighting right

If you’re indoors and photographing a bouquet or vase of flowers, you’ll soon realise that the flash on your camera won’t do a good job of lighting your subject. Instead, fit a compact fluorescent bulb into a lamp or light fitting and you’ll be blessed with natural coloured light, at a good distance. You can then move your subject around until you’re happy with the angle of light. An alternative is a standard 100 watt light bulb, but you will need to compensate for the harsher white light with the diffuser setting on your camera, and/or your editing software after the shutter fires.
